Task:
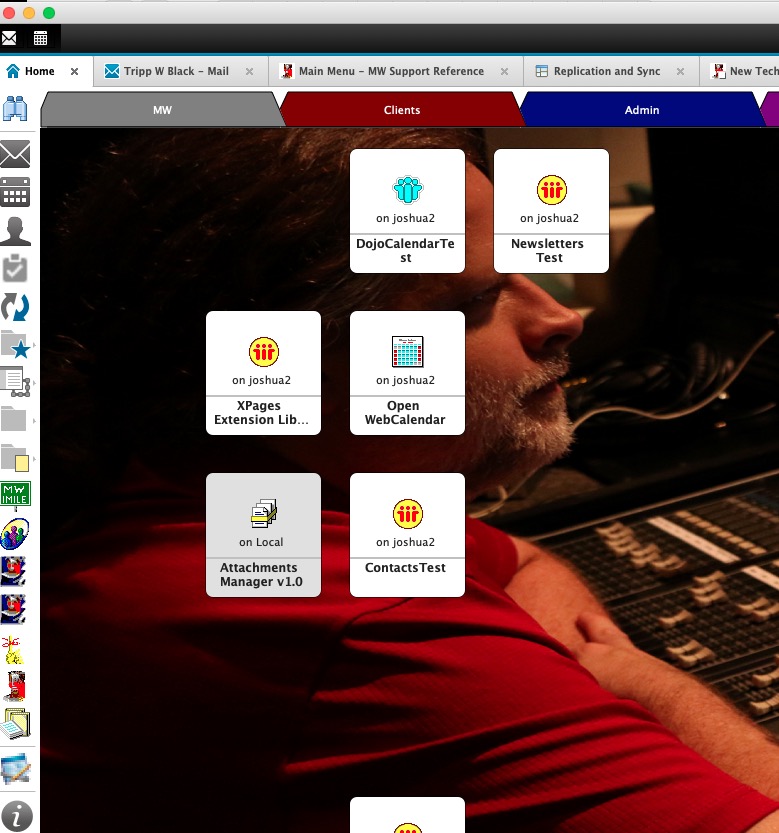
Replace the textured Workspace background with a personal (or corporate image).
Notes:
- These steps are for the power user to add his/her own preferred image for the Notes Workspace. At Mindwatering, we like "Power Users", and ability for the individual to have the power and control to do their own thing. Our policies are minimal as a result.
If you were doing a corporately pushed image by Policy, you would create a custom bookmarks.nsf as say MWCustomizedBookmarks.nsf before step 1 on a Domino server and push the change down by desktop policy to the desired users.
- These steps are for Mac. You can do this for a PC, too. You just have to use the PC paths instead of Mac ones to get to your data folder and notes.ini.
Custom Workspace Image Steps:
1a. Customize your personal bookmarks.nsf, by adding a GIF, JPG, or PNG image you desire. Make sure that the image you choose is as big as your screen and is a landscape-oriented picture.
- From the top menu, choose File --> Open --> IBM Notes Application to bring up the Open Application dialog.
- In the dialog, leave Look in set to On My Computer, select Bookmarks (10), and click the Open button.
Note:
Your Bookmarks has the title of when this client was installed. So in my case, my Bookmarks said Bookmarks (9).

1b. Your local Bookmarks welcome screen will load. Ignore the screen, we want to go to the menu again to select the image.
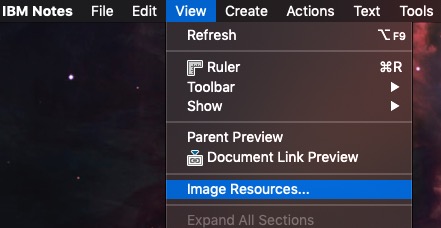
- From the top menu, choose View --> Image Resources... to bring up the dialog to view/add images to the app.
- Click the New button.
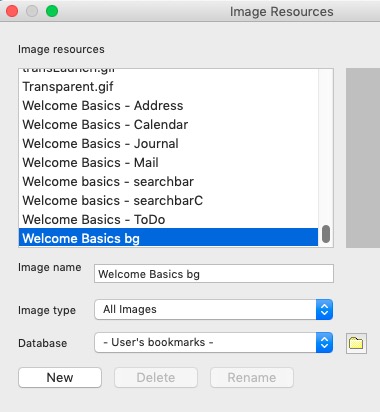
- In the Image Resources dialog, change the Enable option from GIF to JPG or PNG, since most of use use PNG or JPEG/JPG images these days. Locate the image file desired, select it, and click the Open button.

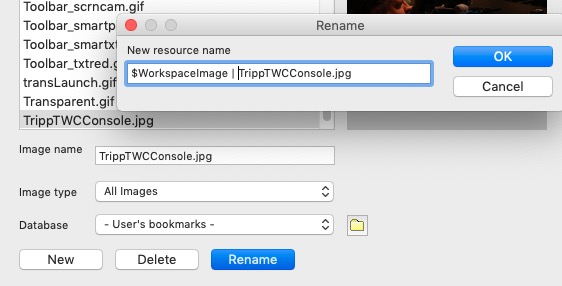
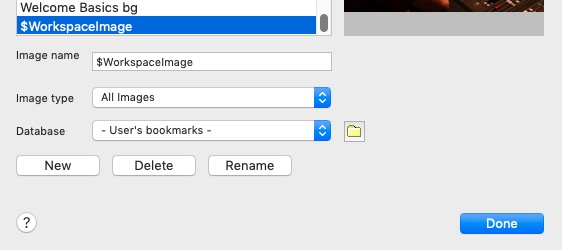
- Still in the Image Resources main dialog, make sure to select/highlight the file you just imported/opened. Click the Rename button and change the name of the image by adding to the front of the image a bit of special text like the example below:
e.g. $WorkspaceImage | TrippTWCConsole.jpg
- Click the Done button to close the dialog.
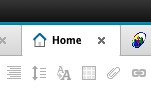
- Click the x on the Bookmarks app Home tab to close the app. (We are done with Bookmarks.)
2. We now need to open the Notes Preferences (the Mac equivalent of the notes.ini) file, and add a parameter that says to use the custom image.
- Switch to the Finder.

- Use the open folder dialog:
From the top menu, choose --> Go --> Go to Folder...
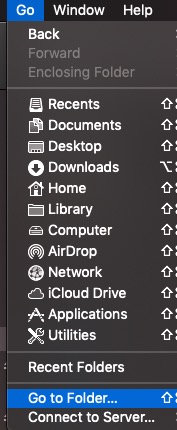
- Enter the following folder, replacing the username folder part of the path.
e.g. /Users/tripp/Library/Preferences/

- Scroll down to the Notes Preferences file, right-click the file, and open it with your preferred text editor.
Hint: Don't left click, your Mac might try to run the file instead of open it for editing.

- Add the entry, V10_WORKSPACE_BACKGROUND_MODE=2 text entry (on its own line), and Save the updated file (typically File --> Save).

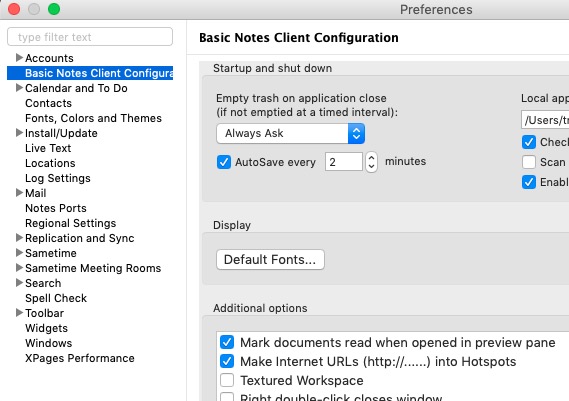
3. Back in the Notes client, we need to check the Preferences and remove the option (checkbox) for the Textured Workspace, if enabled.
If checked, that selection will override these changes, and we'll wonder why it didn't work.
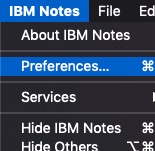
- IBM Notes --> Preferences...
- In the Preferences dialog, choose Basic Notes Client Configuration on the left menu, uncheck the Textured Workspace option, and click the OK button to apply and close the Preferences dialog.
4. Restart the Notes client.
previous page
|