The Lotus Notes install is two parts:
1. Software Installation
2. Setup/Configuration for Notes/POP User
Click the triangle/twistie to view instructions for each section:
 1. Software Installation Instructions:
Insert CDROM. If autorun does automatically start the installation, look for the client setup program on the CDROM.
(e.g. /clients/w32intel/setup.exe (icon with computer) for windows 98, NT, 2000, or XP)
1st setup screen - Click "Next" 1. Software Installation Instructions:
1. Software Installation Instructions:
Insert CDROM. If autorun does automatically start the installation, look for the client setup program on the CDROM.
(e.g. /clients/w32intel/setup.exe (icon with computer) for windows 98, NT, 2000, or XP)
1st setup screen - Click "Next"
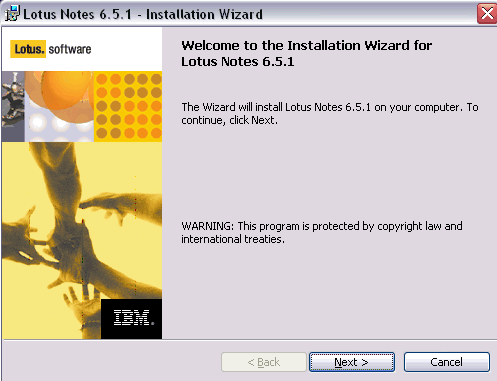 License Aggreement - Answer "Yes". Click "Next".
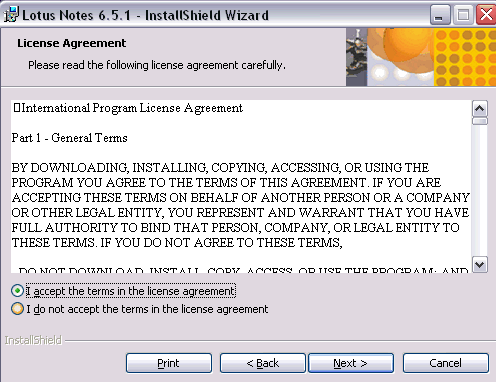
Enter your name in the User Name field and your company (if you have one) in the Organization field. Click "Next".
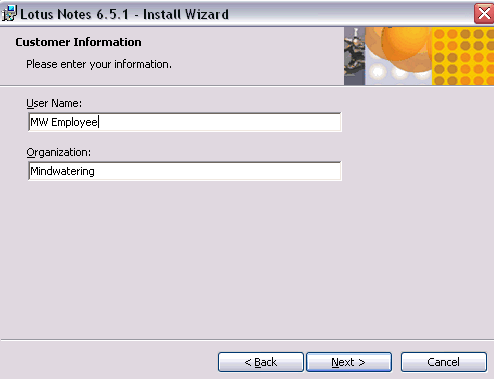
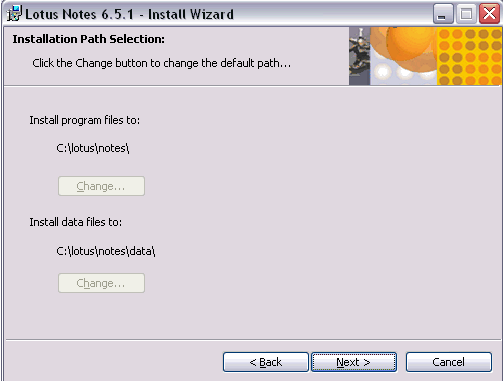
Unless you have a reason to switch the install directory. Just click "Next".
(Note: If you are doing an upgrade, the Change buttons will be dimmed like below.)
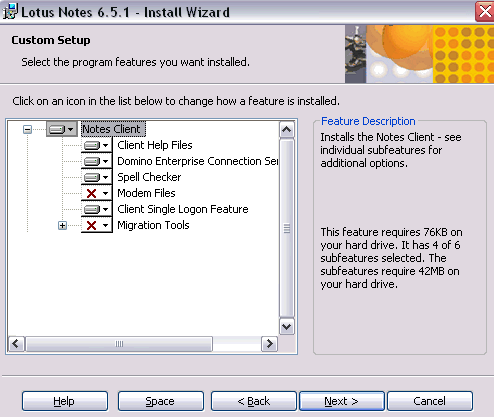
Next, you can customize the program options to be installed. An "X" means that the option is NOT installed.
Make sure you are installing the spell checker. The Single Logon (Single Sign-on) is nice if your password to logon to your workstation is the same as your Notes password.
Click the "Next" button.
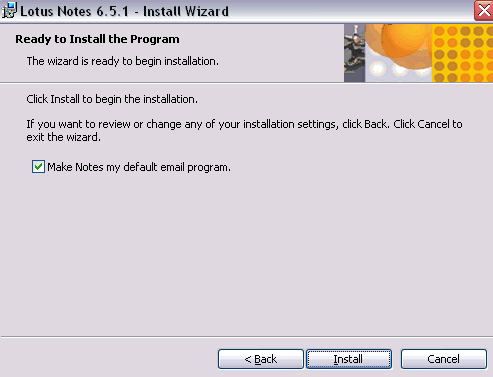
Select if you want Notes to be your default mail program.
If Notes is your default mail program, mail links you click on in Word files or web pages will open Notes as your email client automatically.
Press "Install" to begin installation.
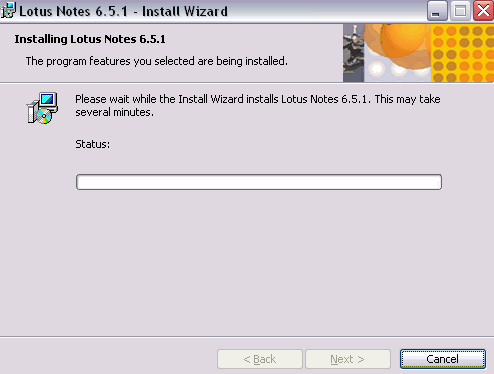
Wait for the installation to finish. When installation is finished the dimmed "Next" button will become a "Finish" button.
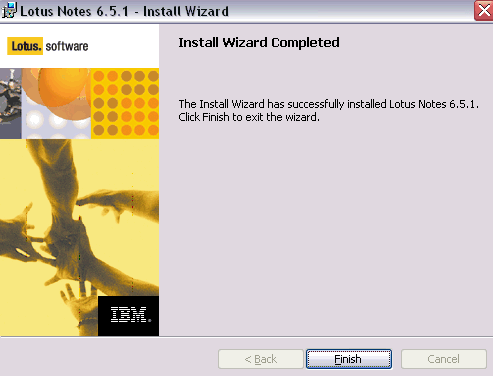
This concludes the installation phase. Click the "Finish" button.
 2. Configuration of Notes
 2. Configuration of Notes
2. Configuration of Notes
1. Start Notes using the icon within the Start Program group Lotus/HCL or the Notes icon on the desktop.
2. On the User Name and Domino Server Name page:
A dialog box/wizard should have appeared. The dialog box is asking your for your First and Last name and the Domino server's Notes name.
For POP3 access, complete:
Your Name: <enter your First and Last Name>
Domino server: <leave blank>
I want to connect to a Domino Server checkbox: uncheck
Click Next.
3. On the Additional Services page:
Internet mail servers (POP or IMAP, SMTP) checkbox: check
Click Next.
4. On the Set Up Internet Mail page:
Select the type of server used for retrieving incoming mail: POP
Enter a new account name, or use the one provided, to refer to this server. To modify an existing account, choose it from the list: My ISP/ASP Hosting Email
Incoming mail server: mail.myaspdomain.com
Click Next.
Enter the following incoming/receiving mail information from your ISP/ASP provider:
Account name: myemailaddress@myaspdomain.com
Password: myemailpassword
Enter your password again to verify spelling.
Password: myemailpassword
Log on using SSL: check
Click Next.
Enter the following outgoing/sending information from your ISP/ASP provider:
Account name: My ISP/ASP Outgoing SMTP Server
Outgoing SMTP mail server: mail.myaspdomain.com
Click Next.
Enter the following identity fields for your email account:
Email address: myemailaddress@myaspdomain.com
Internet domain: myaspdomain.com
Click Next and Finish.
Once you have completed the wizard. It will pause while the installation creates your local Contacts (address book) and configures your local machine for the settings you entered. Once it is done, it will notify you setup is complete.
5. The wizard as of R10 does NOT ask for the outgoing mail server username and password. We have to go back and complete that before being able to send mail.
a. In Notes, select the Contacts icon on the bookmark bar, or click Open, and then the Contacts icon.
b. In the view menu on the left, choose the Advanced option.
c. In the Accounts view, open the Outgoing SMTP Internet mail account set-up in step 4 above. (e..g My ISP/ASP Outgoing SMTP Server)
d. Click the Edit button and update the following:
Login name: myemailaddress@myaspdomain.com
Password: myemailpassword
SSL: Enabled
Click Save & Close.
e. Close the Contacts tabs, and open your Email and test it out.
Please note that POP3 email requires a "Sync". The time period can be set in the Replication settings icon on the bookmark bar (or under the Open button, if not docked).
Contact Mindwatering Support if you have questions.
previous page
|