iPhone: Scheduling an Event & Inviting Others to the Event
How to schedule a meeting with invitations on the iPhone.
(Note this requires a modern iPhone 3G, or higher.)
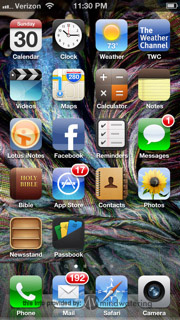
1. Open up the iPhone calendar on the desktop of your iPhone
------------------------------------------------------
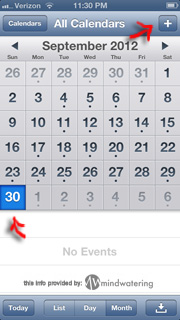
2. Navigate to the date that you want to add an event. Once the date is highlighted in blue, click on the + sign in the upper right corner of the iPhone screen.
------------------------------------------------------
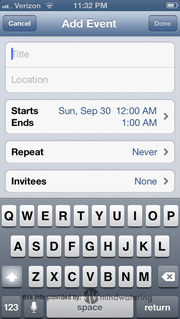
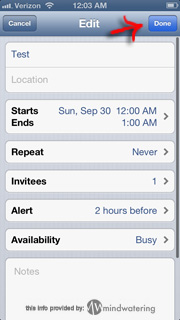
3. Fill in the pertinent information; to include:
Title
Location
Start time
End time
Repeat
Invitees
Alert
Calendar
Availability
Notes
------------------------------------------------------
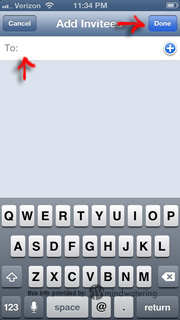
4. If you want to invite others to the event, you do this when you click on "invitees". It will bring you to a new page that prompts you to fill in the email address(es) of your invitees. Click the blue + sign for each person you invite out of your existing address book, or just type in the email address. (See below picture)
Note: If you invite others, they will receive the invitation from you via email, and they will choose to either "accept" or "decline" your invitation. If they accept it, the event will automatically populate within their own calendar; in other words, it will populate in any calendar that their iPhone can "see".
------------------------------------------------------
5. Click "done" button in the top right corner.
------------------------------------------------------
To edit an Event:
1. Repeat step 1 above.
------------------------------------------------------
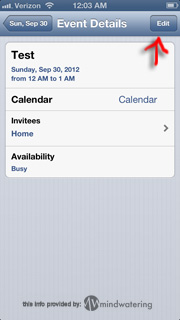
2. Navigate to the date that you want to add an event. Once the date is highlighted in blue, click on the event in the white section below the calendar display.

------------------------------------------------------
3. Click the "edit" button in the top right corner, and then edit your information.
------------------------------------------------------
4. Click "done" button in the top right corner.
------------------------------------------------------
5. Click date button in the top left corner, which will return you to the whole calendar view.

previous page
|